To do the mapping I use the following hardware and software.
Hardware
- Bluetooth GPS Module (GlobalSat BT-338)
- Nokia 6120 Phone
Software
An example of the embedded map produced by this technique is below. It shows the various information available from the file produced from Nokia Sports Tracker.
View Larger Map
Capturing the Data Points (GPS Track)
To capture the data used for the KML file I use my Nokia mobile phone connected to a bluetooth GPS Module. Nokia have released an application called Nokia Sports Tracker which allows you to record a GPS track. For further information on the use of Nokia Sports Tracker visit the Nokia website.
The Nokia Sports Tracker application has the option to output the file of data points to a variety of formats (GPS, CSV, or KML). We are most interested in KML here because it allows us to import the track into Google Earth or Google Maps.
Viewing the Map
Now that we have a KML file we can open this file directly into Google Earth to check that it looks correct. If you have Google Earth installed, double-clicking the KML file in Windows will open the path and display.
To use the path in Google Maps is a little more involved as you need to host the KML file somewhere on the web. I use a folder on my hosting provider.
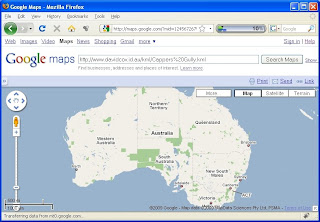
Once you have the KML file hosted on the web you can now use it within Google Maps. To use within Google Maps copy/paste the URL into the Google Maps Search Bar and press 'Search' button.

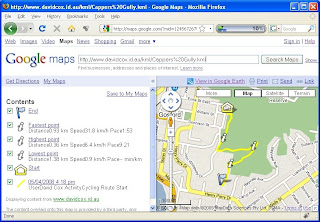
Google Maps will now display the path on the map with some additional information about the path from the KML file.

Embedding the Map
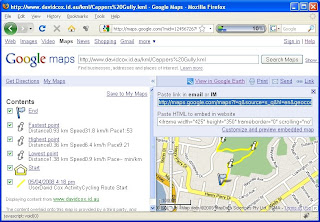
Once you have the map displayed you can now Print, Send, or Link to this map. To embed this map into a blog or another web page use the 'Link' menu and paste the HTML in the second box into your website code.
 You can use the 'Customise and preview embedded map' to change the settings of the embedded map.
For more information refer to the examples on the Google Maps site.


